Well I gave it some thought and the £6k for a german or french one is out of my league. So after some deliberation I decided to build one myself. I didn't want to have the vehicle off the road whilst I built this, as I need to use it regularly, so it needed to be 'easy' and not involve taking the van apart. Some of these lifting roofs use the existing LR roof and raise it on a hinged plinth which is fitted between the old roof section and the van sides to allow the lifting/opening. However this means forming a curved piece for both above the windscreen and the shape of the back door, which is complicated and labour intensive (as well as needing to take the roof off.)

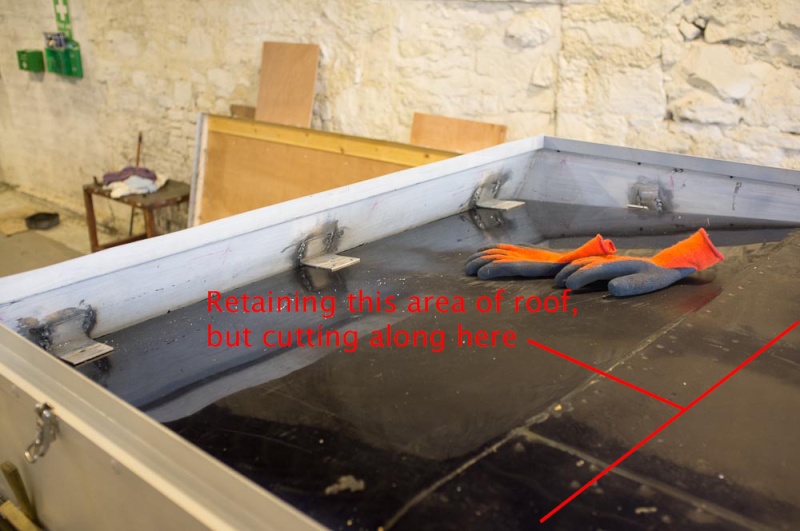
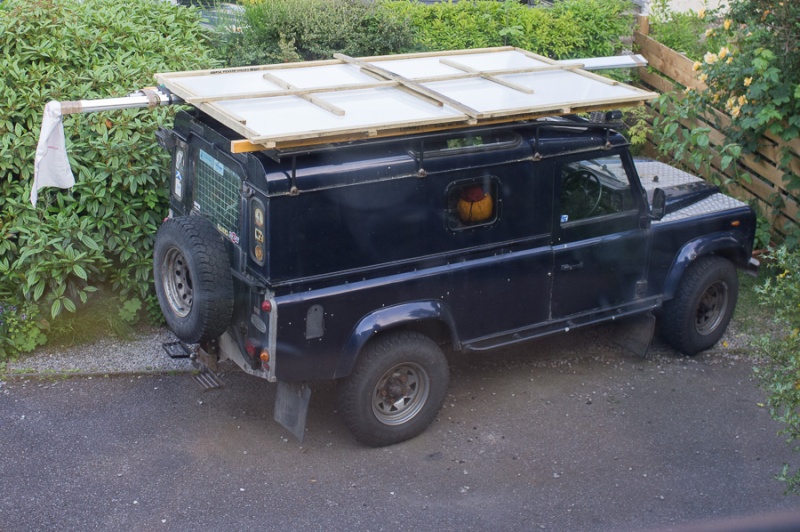
To get round these 'problems' I thought I'd use the existing roof as a base, working up out of the existing gutter to form the sides and back from 3mm alloy sat in the gutter, with a front piece bolted on, and put a hinged lid on it and then once its fitted, sealed and I'm satisfied it works, I can lift it up, get inside on top with the jigsaw and cut out as much of the 'old' roof as I want, retaining enough around the vehicle to bolt the new one on to. Various other mods across the vehicle width to support the bed platfrom in the roof area will help to retain structural integrity and I reckon the finished item will be stronger than original. A roof rack made of simple alloy flat bar welded to the top on its edge with alloy tube across, will also help to make this even stronger (and I can carry my canoes on it).
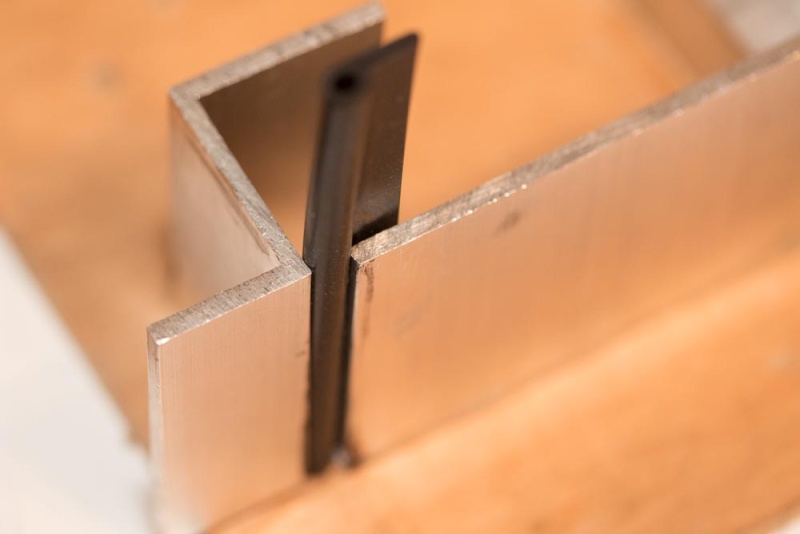
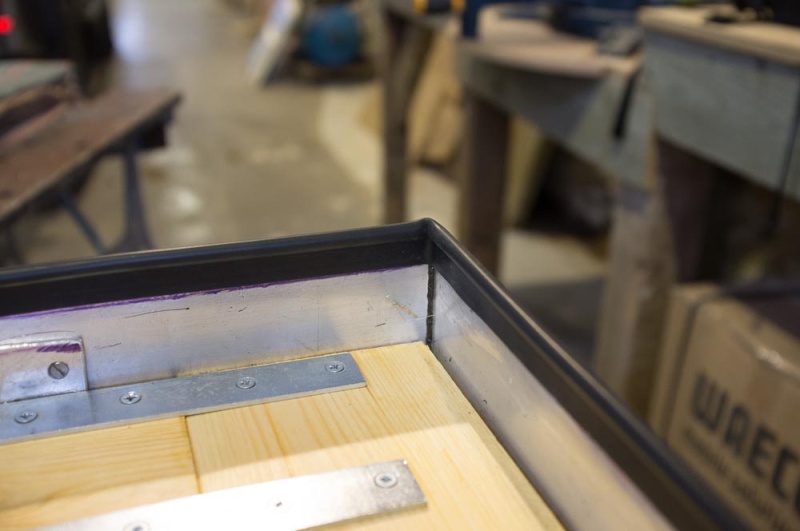
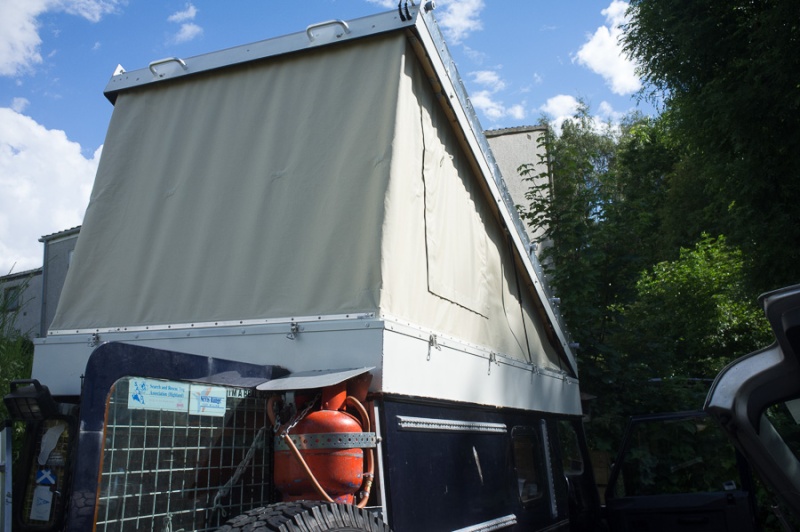
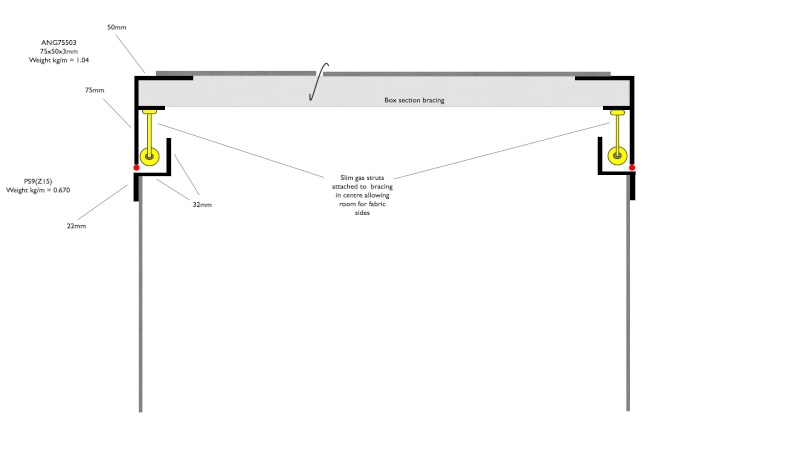
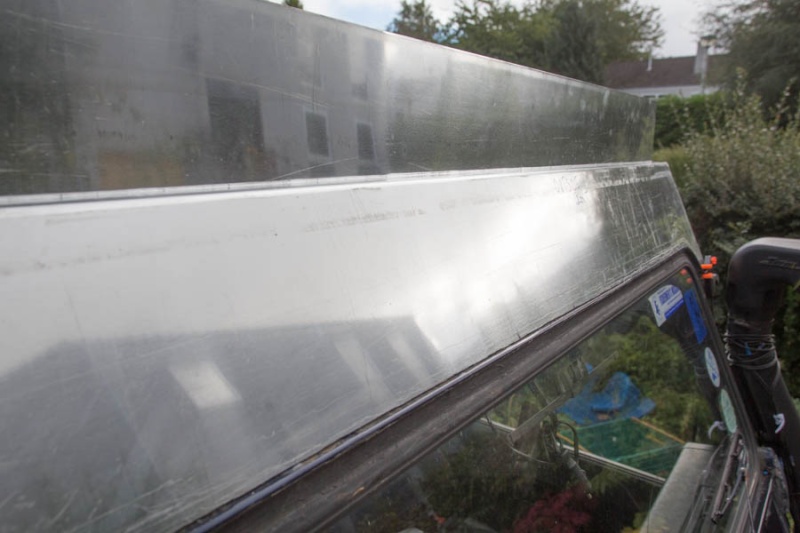
I searched the alloy extrusion folks catalogues and found two sections that are perfect - an unequal z section which works for the 'base' giving a good sized upstand to prevent weather ingress, and onto which I can fasten the lower part of the fabric sides, and which also has enough 'width' to allow a gas strut to fit in between. Above that, the 'closing' section is L alloy, inverted, which has bags of overlap up into which the fabric can be fastened and allows sufficient space for the loose material to pull inside when the roof is lowered and closed.
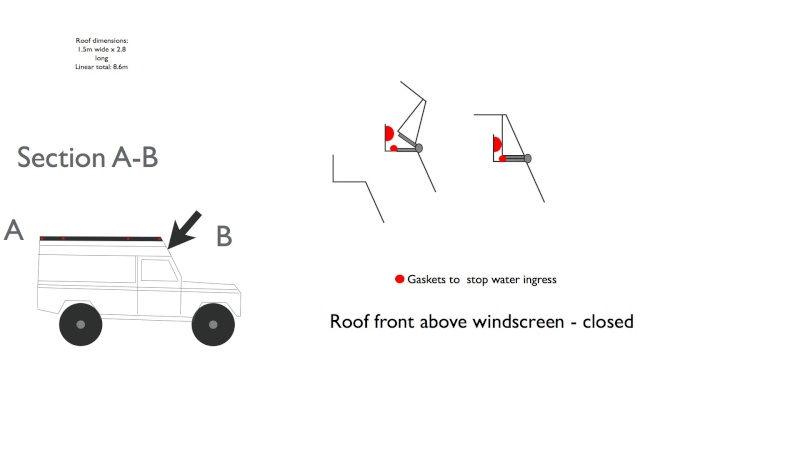
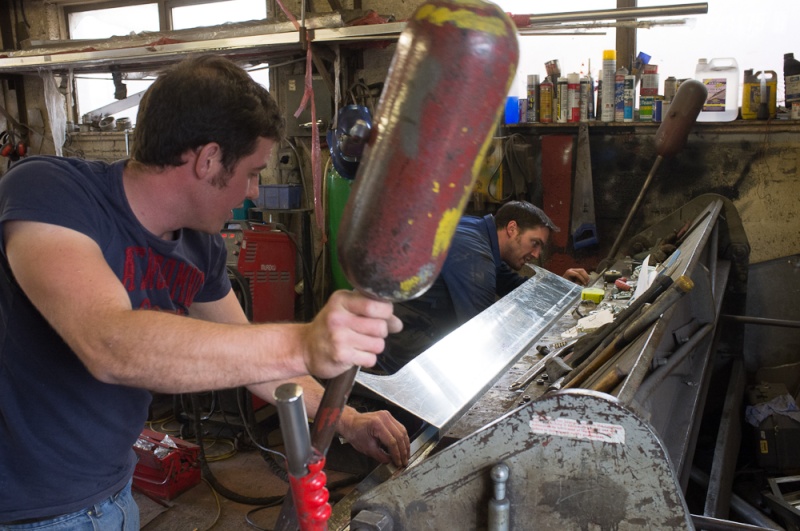
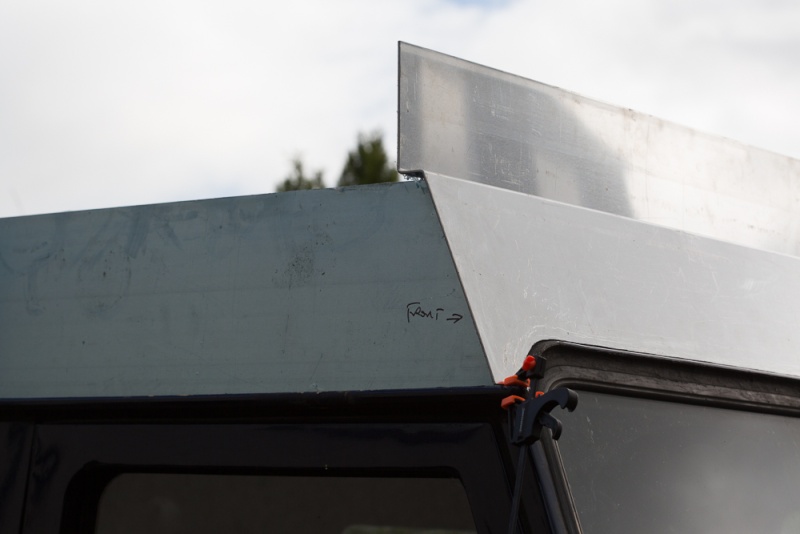
To retain the front slope (windscreen angle) and give some wind shedding ability I've had the front section above the windscreen bent by my local alloy fabricators (who will do the difficult welding for me). This is because the stock extrusions are all right angles and wont work with the slope backwards.
Weight. A conventional roof tent is between 100 and 200 lbs, depending on make and size, and that's without a roof rack to support it. Add a rack which will be at least 50lbs and the overall weight on top is between 150 and 250lbs.
My existing roof rack weighs about 50lbs and the roof section I'll remove is probably another 20-30lbs. So I'm 'losing' about 70lbs or so.
The new lifting alloy roof will come in about 140lbs max with internal bits and bobs, so deducting the weight of the current roof rack and old roof thats being removed I'm only adding around 70lbs and at the very most 100lbs to the vehicle(and that is including roof rack). That's not anywhere near compromising vehicle stability.
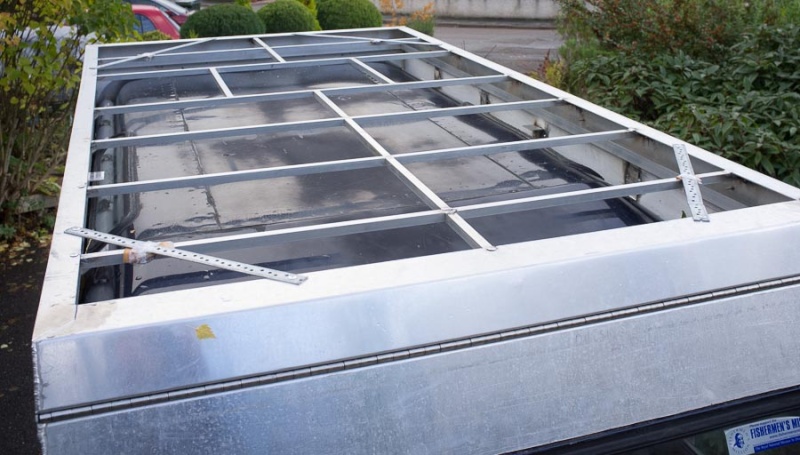
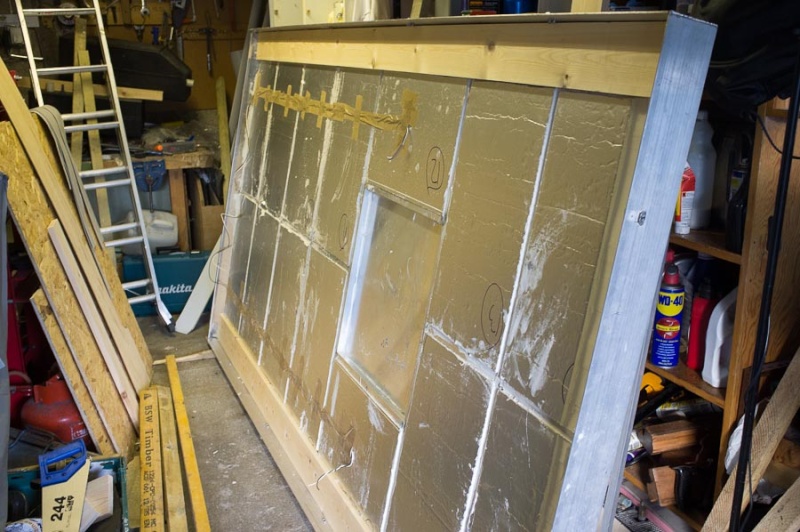
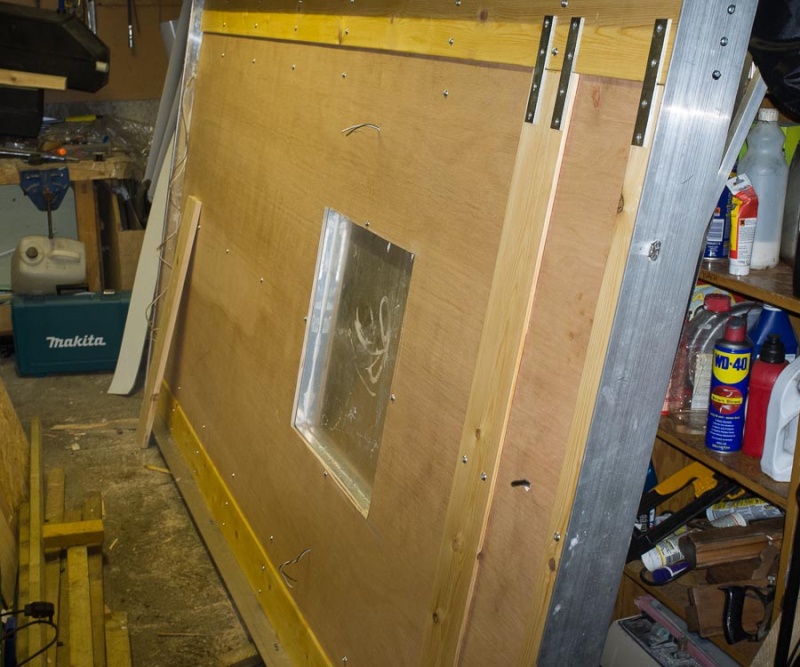
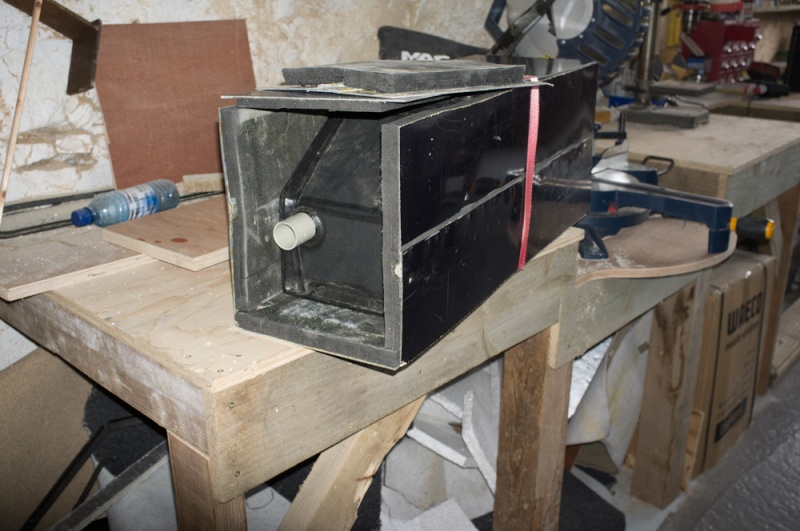
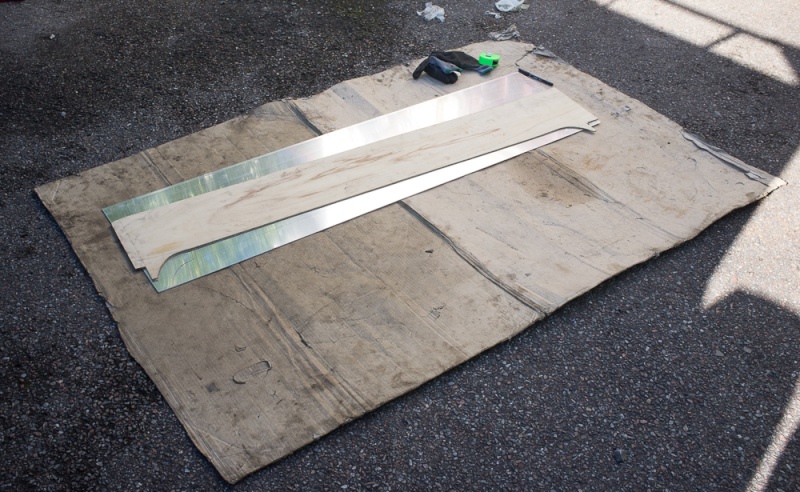
Sides and alloy Z and L sections are 3mm and roof is 1.2mm sheet on 19x19x 1.6mm box subframe.
Height. Keeping it to less than 2.2m shipping container height. The new roof will end up only about 5 inches higher than the current rooftop (plus 2 inches for roof rack), so somewhere around 7 inches in total, but still less than a normal roof with roof rack (never mind adding a roof tent). There will be no sloping top on the roof above windscreen (like on the original roof) as it will be flat all the way through, so it looks a bit 'top-hatty' but I can live with that to have room for my feet when lying in bed!
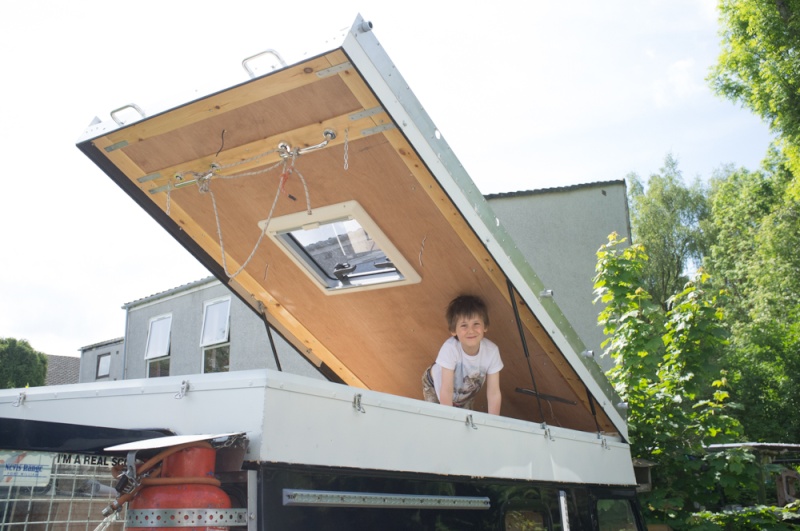
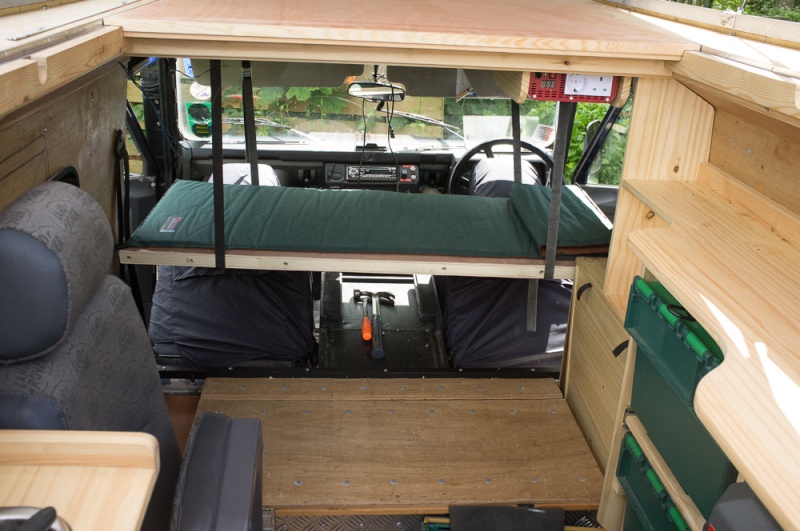
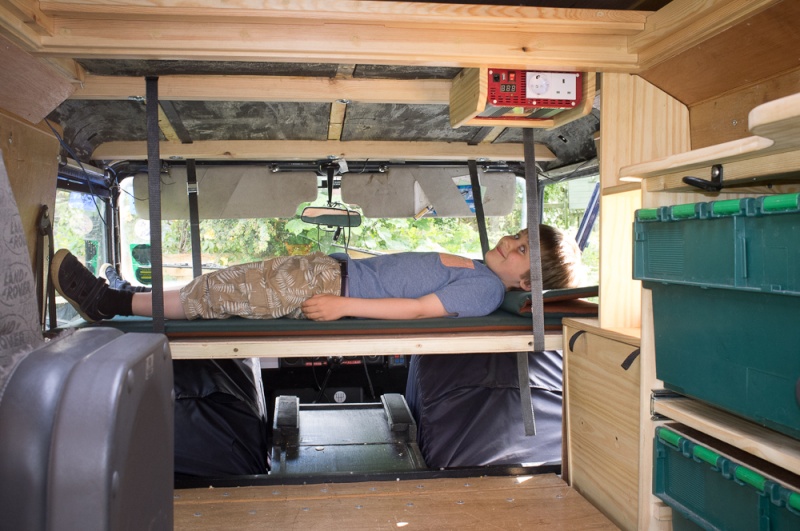
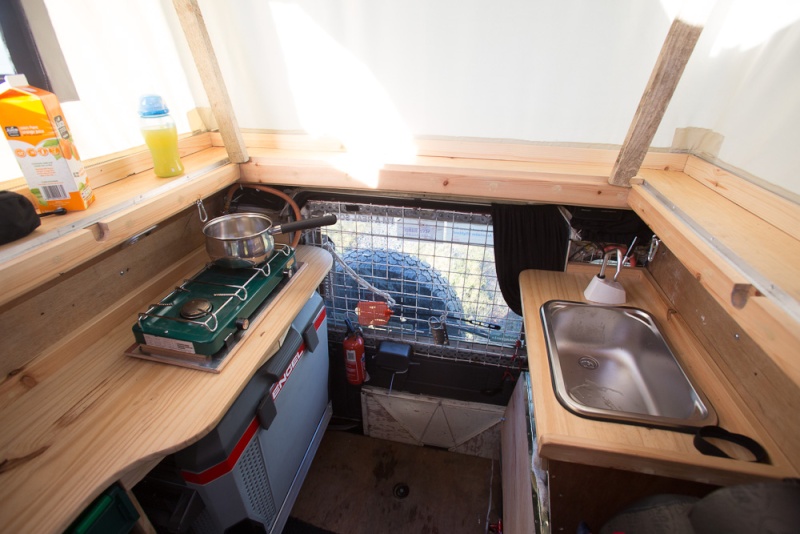
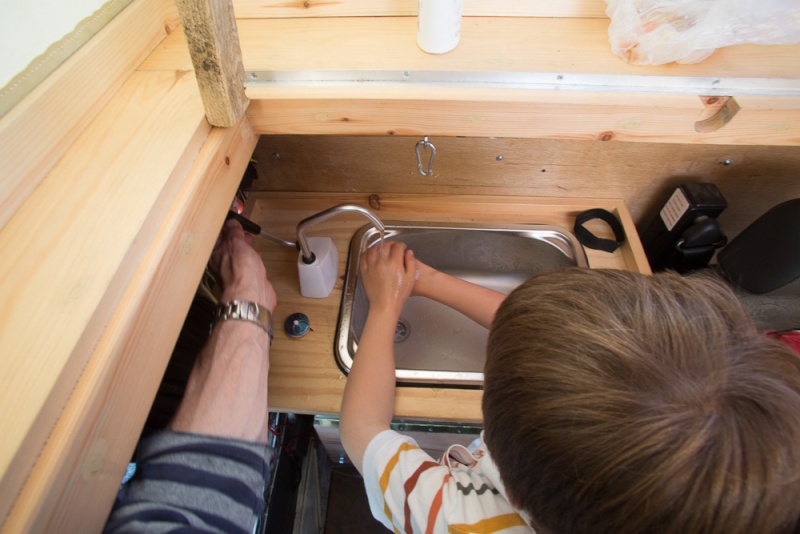
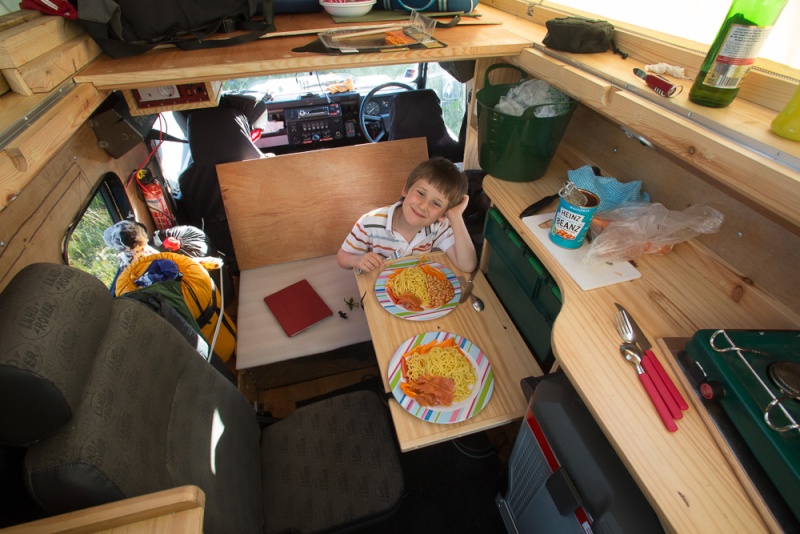
Speaking of which: the length from windscreen top to back door is 9 feet. Deduct a bed length of 6' 6'' (fitted in two sections) and that leaves a 2' 6'' gap at rear end which gives anything up to 10 feet of standing head room with the roof up and allows me to climb up and get onto the bed, and I'm fitting a small sink on the passenger side and a cooker on the driver side. The bed base in the roof area will be in two sections with the front piece bolted firmly in place to the sides and braced to be a structural member, and the second section towards the rear will be lift-up and remove and during the day will 'nest' on top of the front section, and can be pulled to the rear and popped in place for sleeping. That two part method allows a good amount of standing room for about 6 feet from the back door when the bed base is 'nested' and will make moving about inside easier. Ladder access to bed will either be rungs built into kitchen sink base unit and cooker base unit opposite (so two bed access points) OR a small alloy ladder fixed externally for roof access which can be unclipped from the outside and pulled inside at night and used to climb up on either side as required.
Anyway some rough plans should accompany this, as well as pics. Plans not to scale, just for guidance. Although the extrusion code numbers are there in case you want to have a go.
3mm might seem overkill but when I added up the weight of using thinner stuff, but needing a stronger subframe to support it, and then the complexity of fabricating that, well.... 3mm sheet was an easy winner, cheaper and lighter.
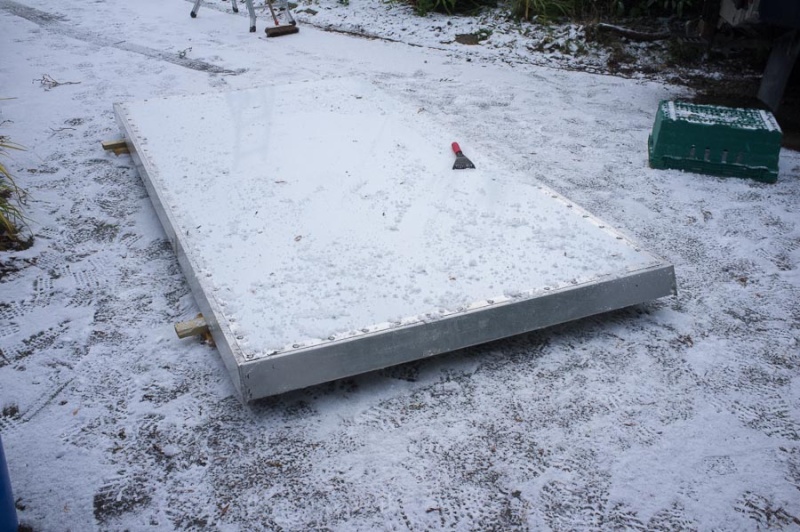
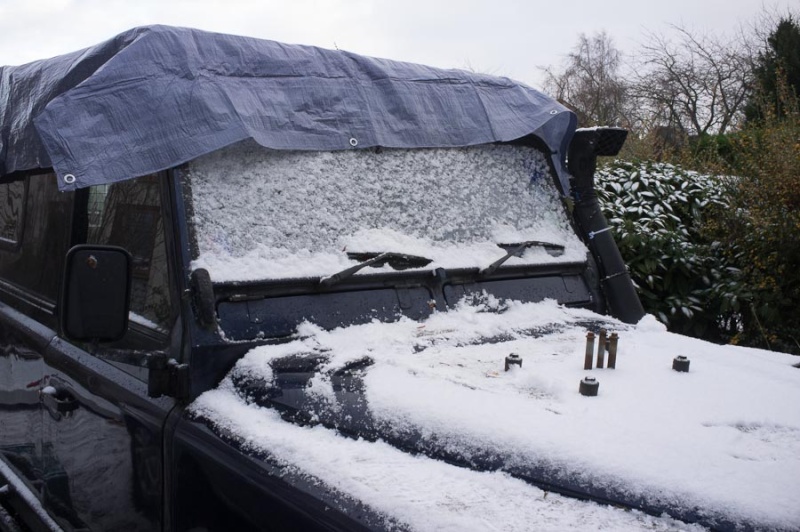
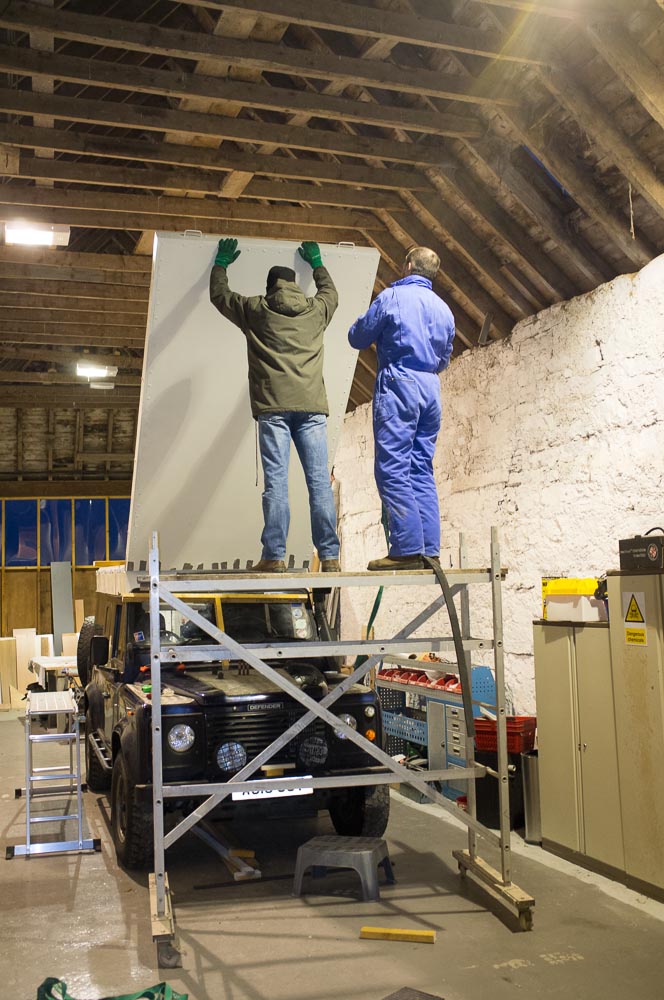
So here you go - the driveway fabricated lifting roof. I did get a loan of a barn in the winter as the snow and ice buildup on my van roof was getting ridiculous and there is a limit to how far you can go outside and keep things dry and allow glue and mastic to set, never mind paint to dry!
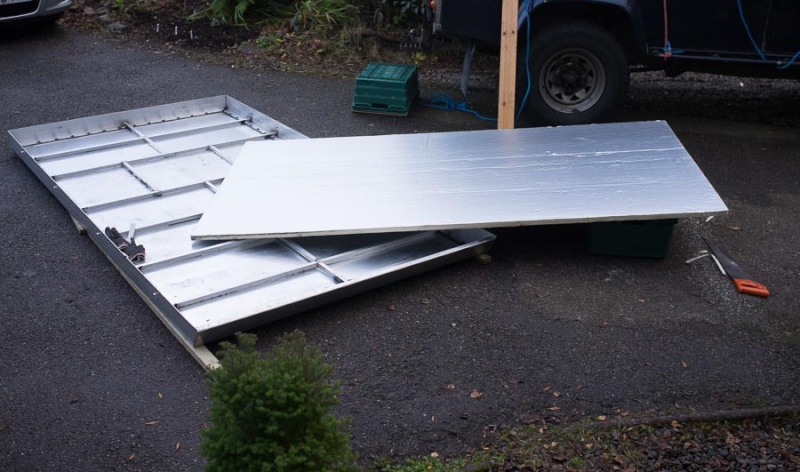
What I started with - a stack of alloy I collected from the suppliers.
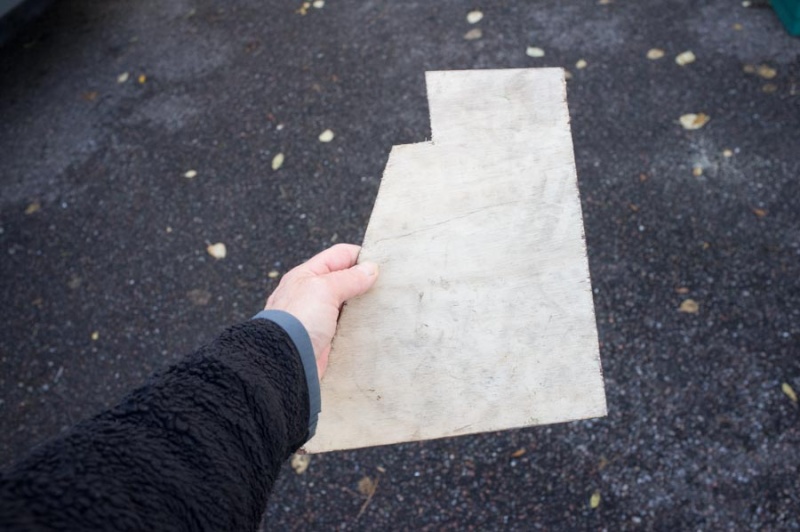
Then a template made from ply for the front.
Sides fitted to get front angles an overall lengths.

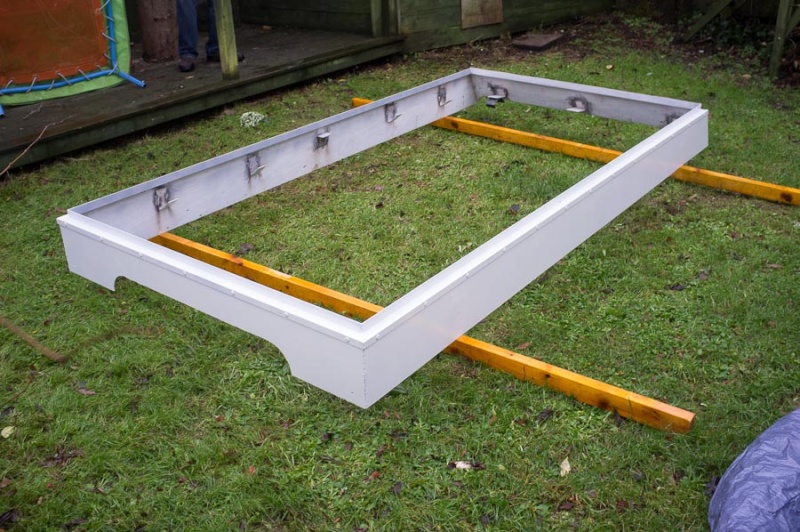
Rear end fitted to get width.

Important piece - the ply template for the front slope above windscreen and small upstand for hinge.
Alloy fabricator lads bend the front section to suit the ply template. 10 minutes work, by hand! Perfect first time!
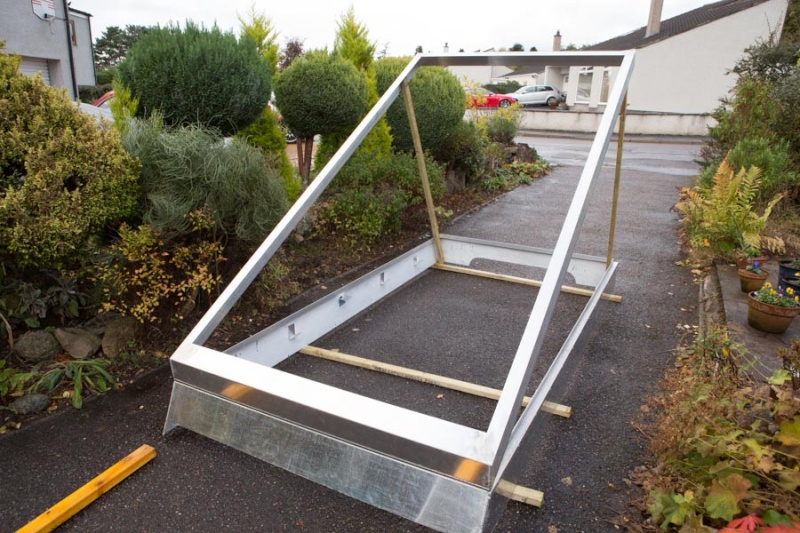
Fitted beautifully!
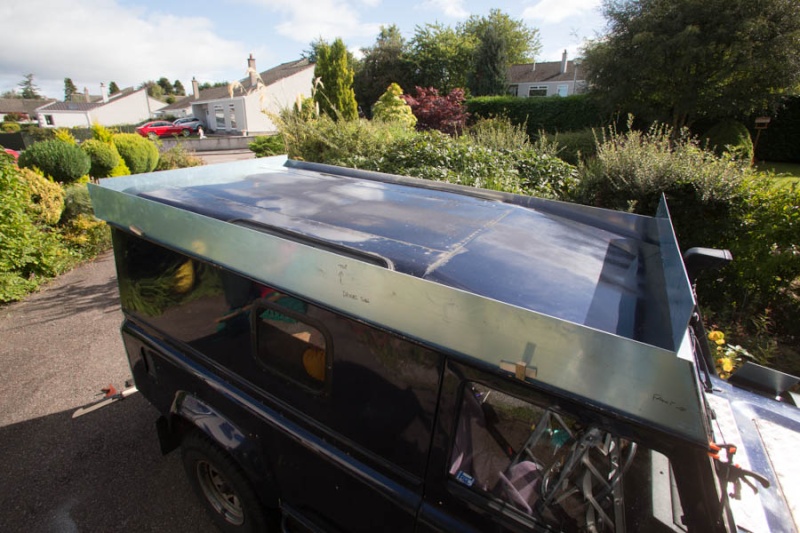
Next step was welding the seams on the lower section.

Perfect job.
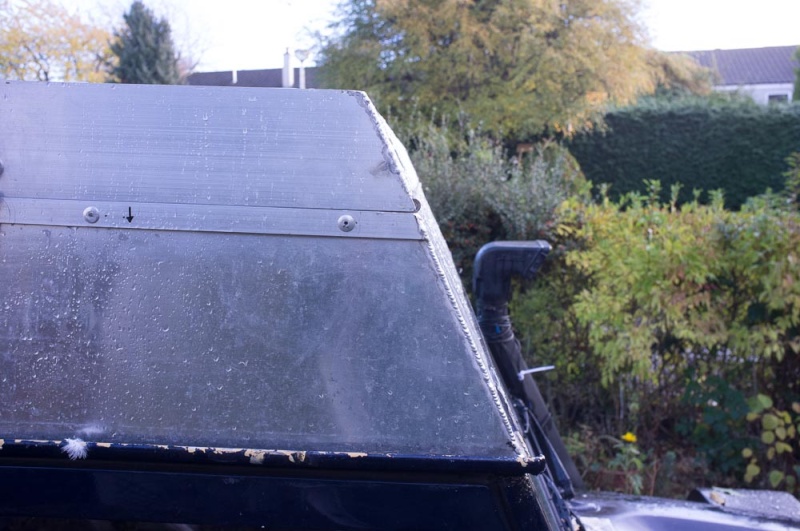

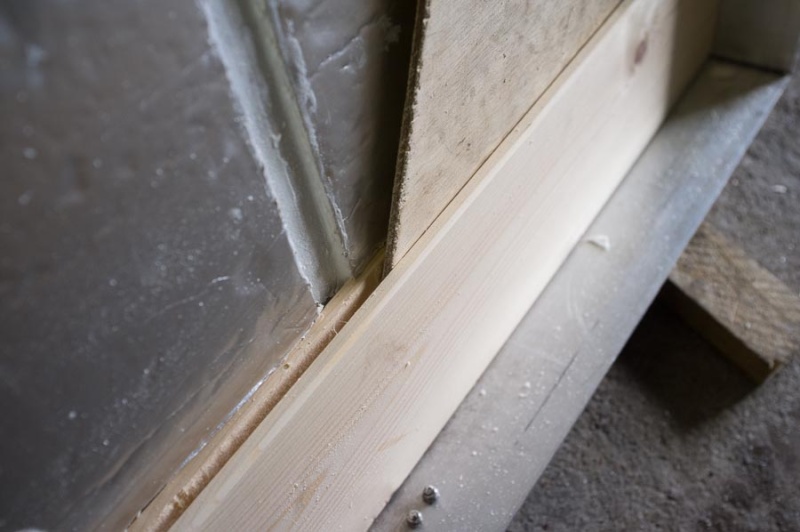
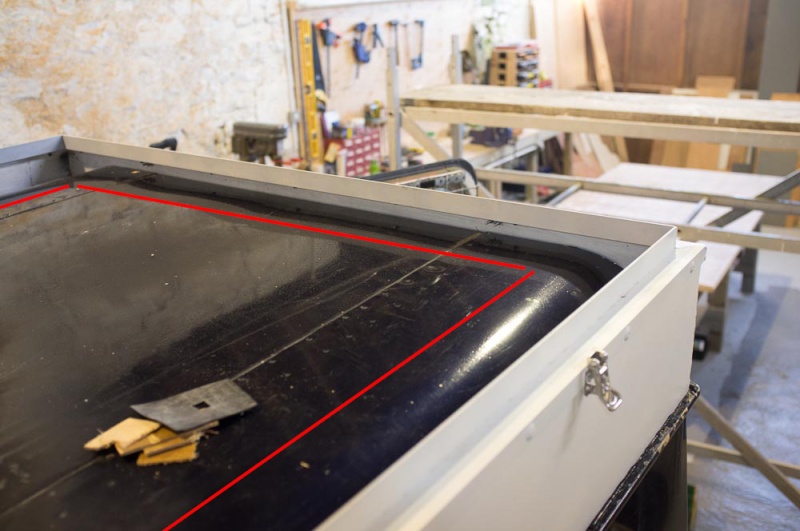
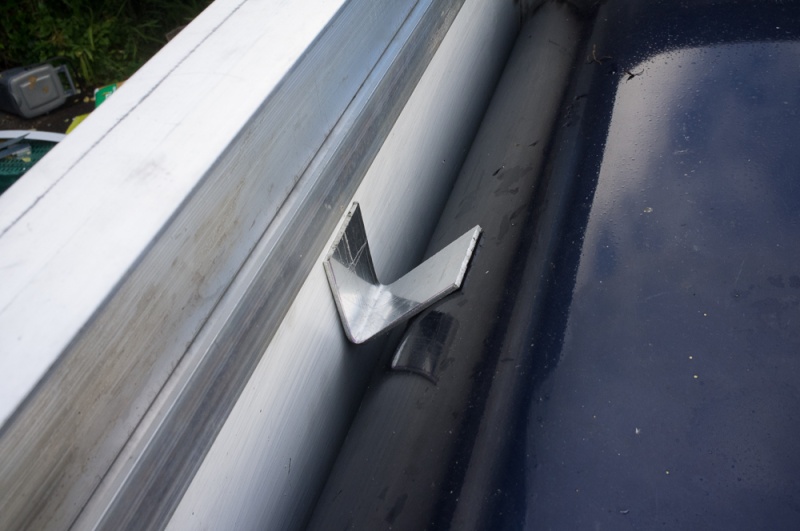
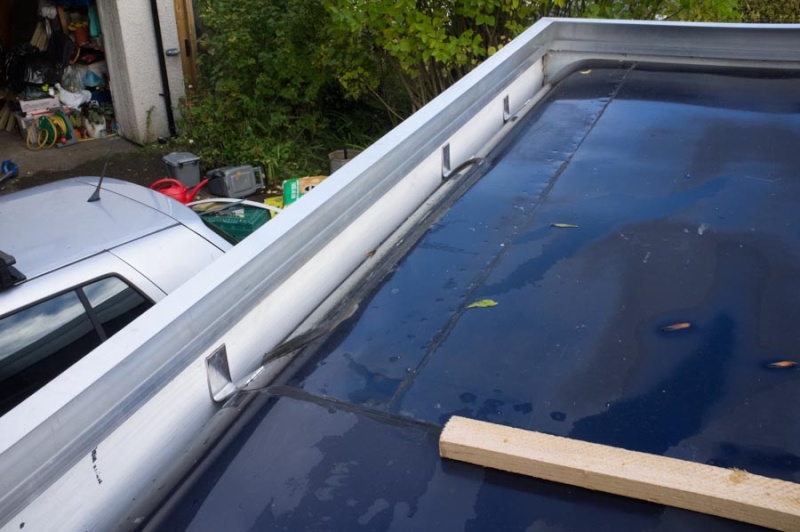
Brackets to hold new roof down to old roof fitted.


 Sat Dec 13, 2014 9:00 pm